Although Faswin is a straight forward program, all programs can be difficult to use the first time you see them. The goal of this page is to walk your though the things you will need to do after installing Faswin. By following these simple steps you should be up and running in no time.
This document covers the process for both new Faswin users, and users upgrading from Faswin 2 or Faswin 3.
Download Faswin 4
If you haven't already done so, download the Faswin install from the downloads page.
Install
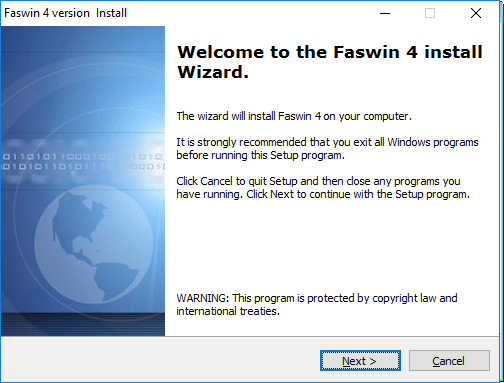
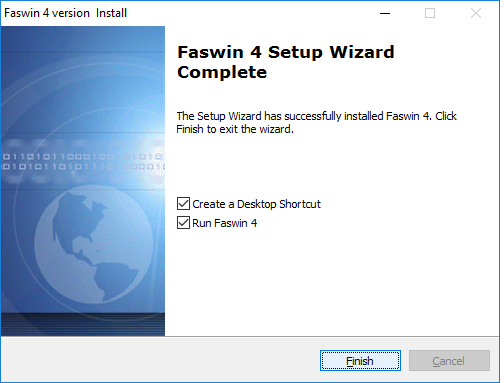
Run the installation. The welcome screen will appear. Click on the button.
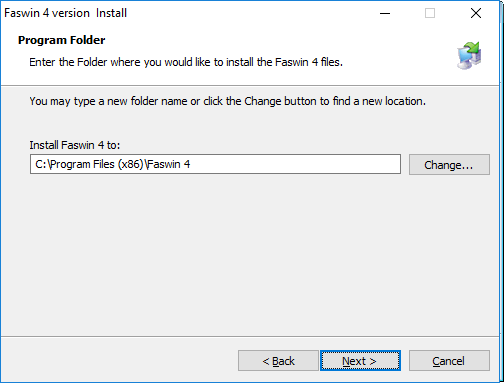
You will now be able to override the default Faswin program location. If you'd like the program to be installed somewhere other than the default location, then enter it now. Once you are happy with the location, click the button.
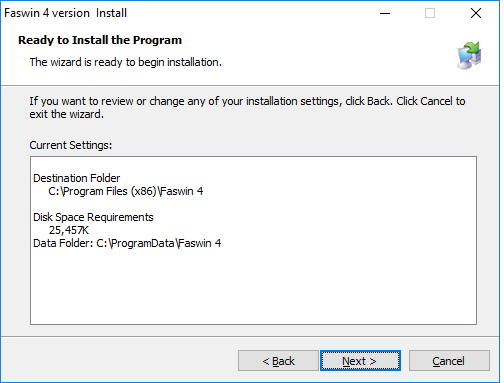
A summary of your install decisions is then displayed. Click on the Next button to start installing the program.
After the install is completed the program will run automatically.
Selecting the data location
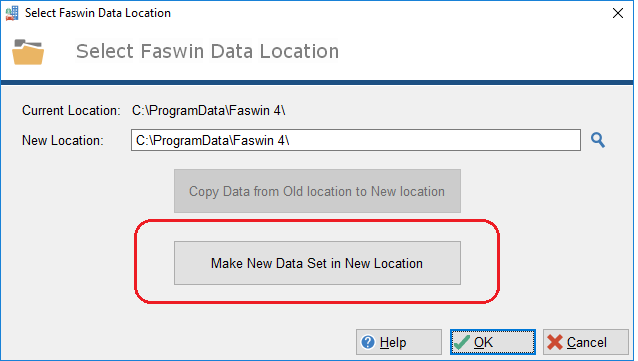
The first time you run Faswin, you will see a screen prompting you to select the data location.
If this is a new install click on the Make New Data Set in New Location button.
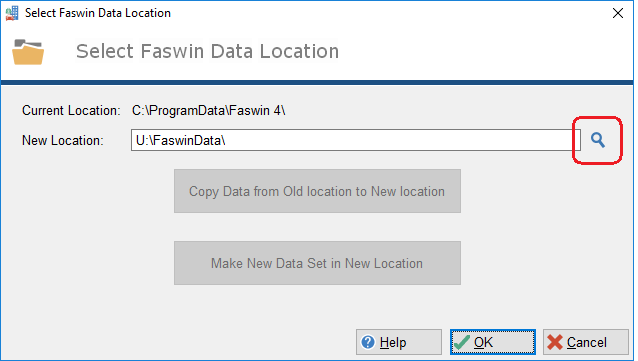
If you are upgrading from an older version of Faswin then locate your Faswin data using the Lookup button.
If the location you select contains a valid Faswin Data set then both buttons will grey out and you can click on OK.
If you are Upgrading: Licensing
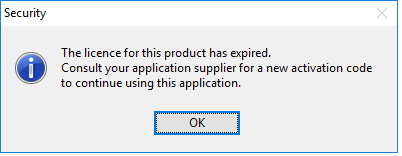
If you have installed Faswin on this computer before then you may see a License Expired message. If you see this click on the OK button, and the Registration window will open. You will also see this window if your demo copy of Faswin is more than 30 days old.
Click OK to proceed to the main window. Once you get there go to the Security Menu, to the Registration option.
Then follow the instructions in the Registration section below.
Registration
When your program starts for the first time the Registration will be set to "Demo".
You will want to change this immediately because this name appears on the footer of the reports.
Note that even if you have not paid yet, you can still use this screen to register. You will be granted a temporary registration code, which will work until the payment is made.
Go to the Security menu, and then to the Registration option.
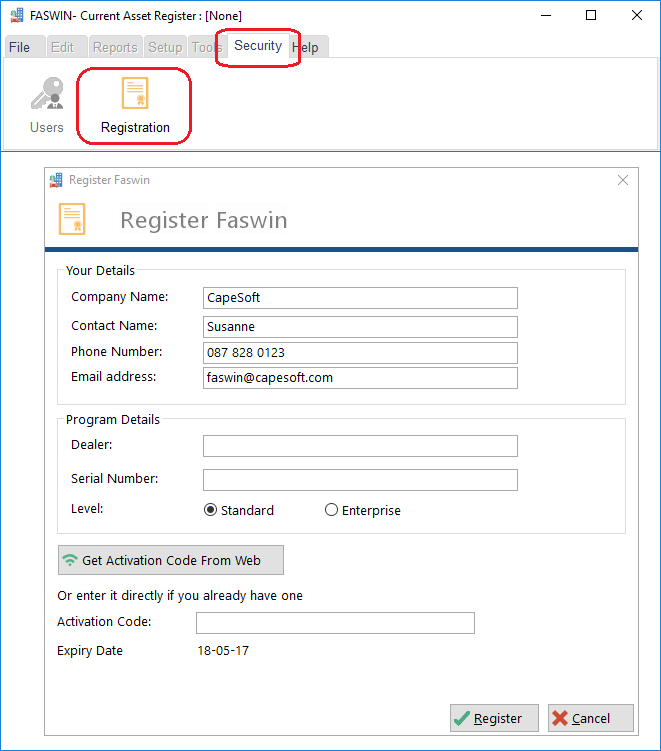
Complete the fields in the Your Details section. This will allow us to match your copy with your payment, when you make it.
If you have already paid for Faswin, you do not need to wait for any Application code to be supplied to you. Go ahead and register using the steps above. Your registration will be updated to permanent within a couple days after your initial registration.
In the Program Details section you can leave the dealer and serial number fields blank. However if you obtained Faswin from a dealer please put their name in here. This will make it easier for you to obtain support later on. If you did not use a dealer then leave this field blank. You can also leave the serial number field blank.
Select the appropriate Level of the program that you would like to test. Remember that the standard level is restricted to a single PC whereas the enterprise level allows multiple users to access the program at the same time.
Once you have entered all the details, if you are connected to the Internet, go ahead and click on the button.
This will fetch a registration code from our online registration server. This code will either be for 30 days (a temporary code) or for ever (a permanent code.) After clicking the button the window will look something like this, with the Activation Code and Expiry date set.
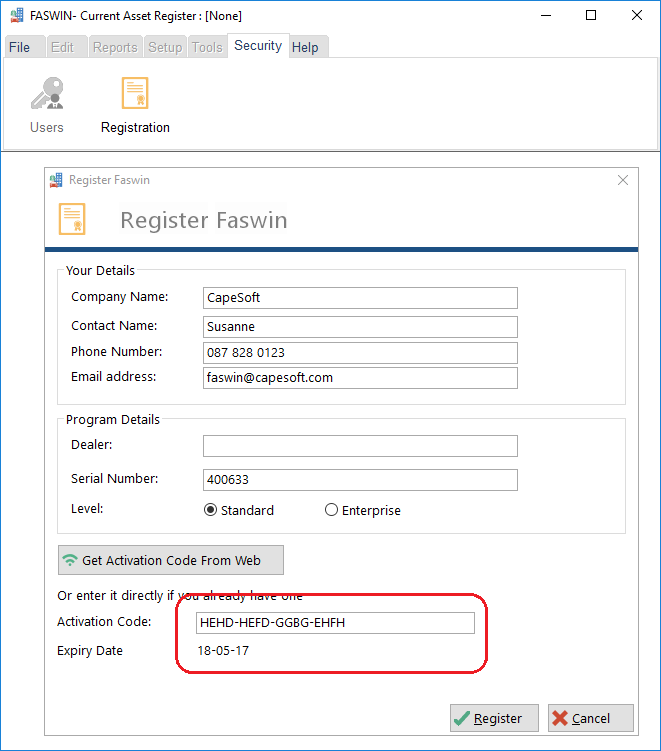
Once you see this go ahead and click on the Register button.
If the registration is successful then you'll see a Success message.
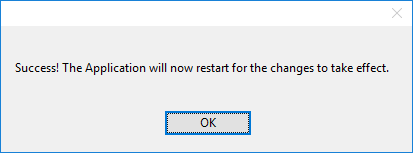
The program will then restart itself in order for the change to take effect.
Temporary Copy Information
If you are currently using a license that will expire, then you will see the following window every time the program starts.
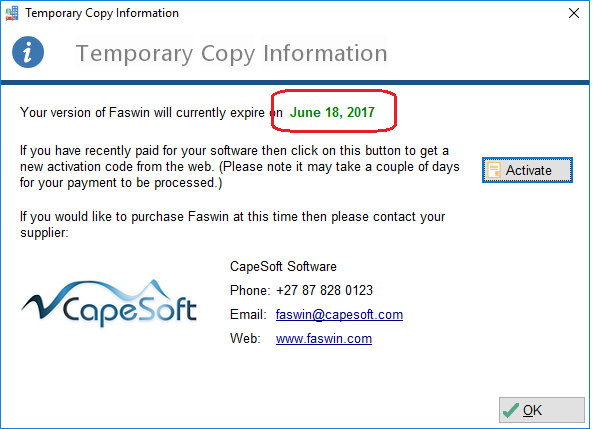
Notice that it will indicate when access to the program will run out under the current license. As long as the license is still valid you can click on OK to proceed to the program.
Once you have paid for Faswin you will be able to activate it with a permanent registration and this screen will no longer apply.
Please note: Do not worry if this screen continues to appear for a while after payment. It may take a day or two for the online-registrations to be updated. Indeed we can only update your registration after you've registered the program. So make sure you enter all your details as described above. Even in temporary mode your program is fully functional. If it expires you can get a new activation and carry on.
Click on the button to continue.
The Main Frame
Once all the preliminaries are out of the way you will go straight to the main program window. This is known as the program FRAME because everything the program does happens inside this frame.
If you are an experienced Faswin user, from an earlier version of Faswin, then you will notice the new Menu type, known as a Command Bar. This works the same as the Menu used to work, but it is more intuitive and makes things easier to find. All the commands you are used to are in the sample menus as before.
Create a Asset Register
The first thing you need to do is to Create an Asset register. Go to the menu and choose the option.
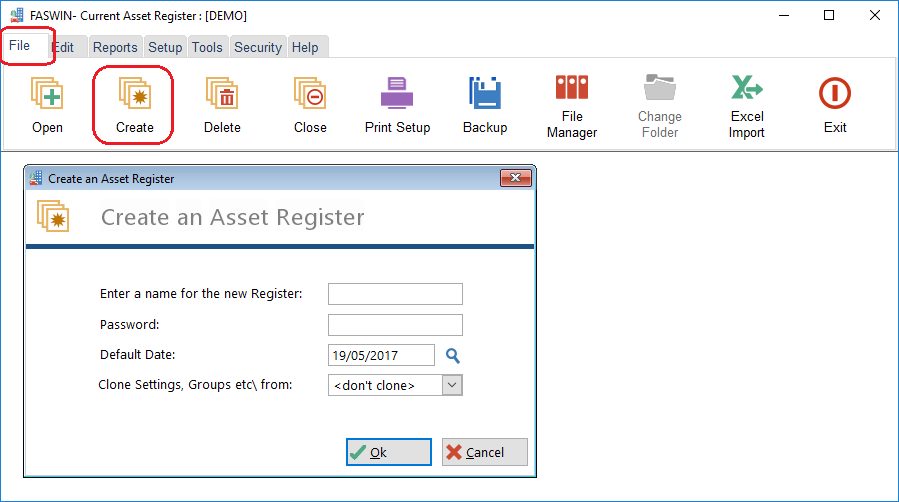
You will need to enter a name for the register, and also (optionally) a password. The default date will be primed to today's date, and you can leave this as-is for the moment.
If you are creating a register based on an existing register then you can chose the Clone option. This will pre-populate your new register with the settings from the old register.
Company Settings
After you create a new Asset register, the Company Settings screen will appear.
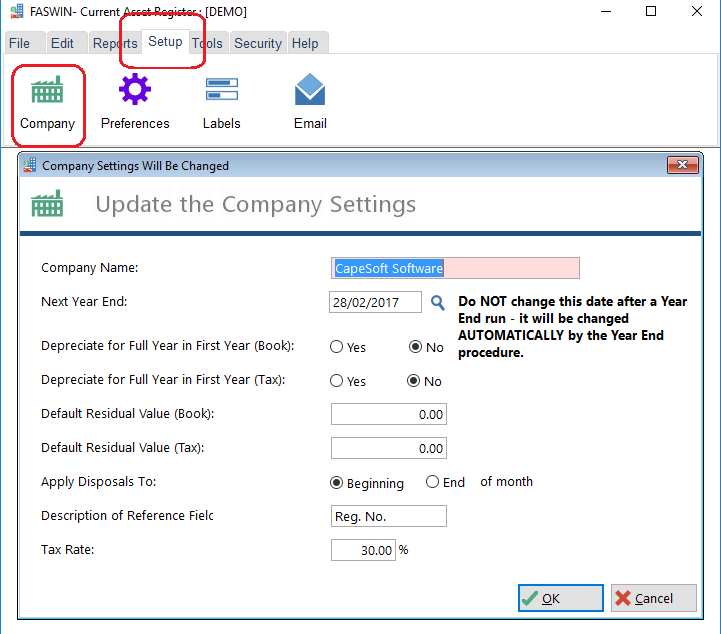
For a full description of each company field in detail, see the CompanySettings page.
You can re-visit this window when a register is open, by choosing from the menu.
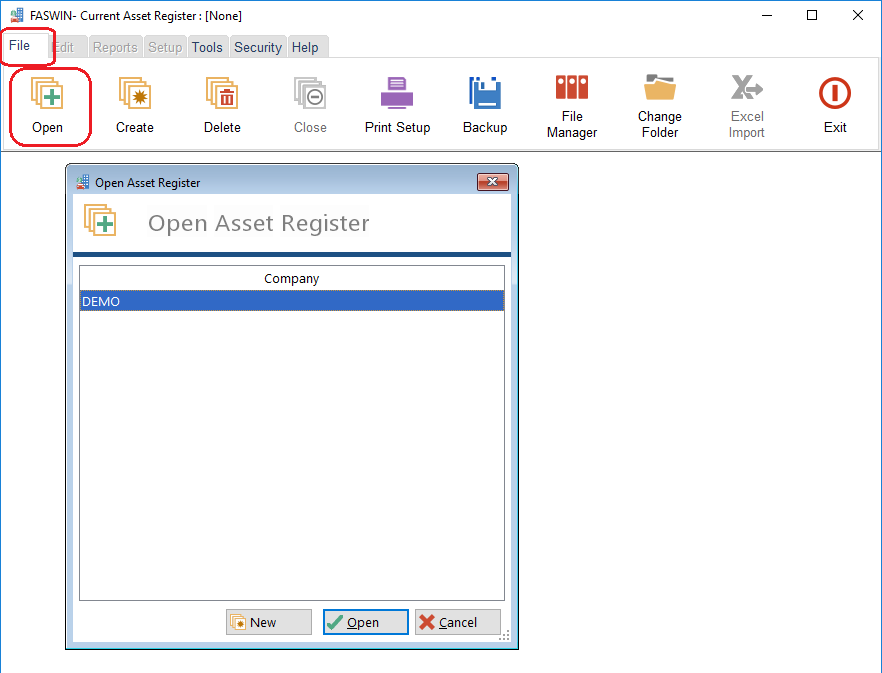
Open a Register
After creating a new register you will need to Open it. You can do this by going to the File menu, and selecting the Open option.
Now is a good time to setup some other Faswin settings which you will use later on.
Faswin has the ability to email reports to people. This is useful as it allows the information inside Faswin to be shared with others, without them having access to, or the ability to change, your data. The email facility inside Faswin uses the standard internet email protocol, which is called SMTP. You will find the email settings in the menu, in an option marked .
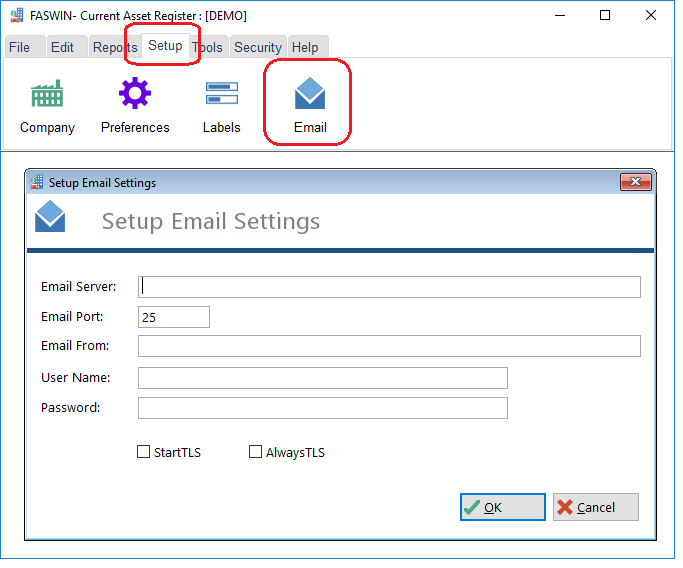
A full description of the email settings is quite technical, and can be found here. Don't worry if you don't get the email sorted out just yet, it's not necessary for the rest of the program to work, and you can always adjust it later on.
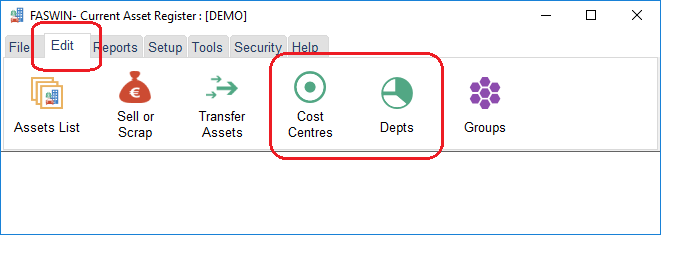
Cost Centre's and Departments
If you have a lot of assets to manage then it is useful to be able to group them together into Departments and Cost centres. If you are going to do this then this is a good time to go ahead and create those Cost centres and Departments. If you don't want to do this (or don't want to do it now) then a single Cost Centre (called General) and a single Department (called General) will be created for you.
To add, edit or remove cost centre's choose the option from the menu.
Likewise, to add, edit or remove departments choose the option from the menu.
Departments and Cost Centre's belong to a single asset register. If you have multiple asset registers then each register will have their own Departments and cost Centres.
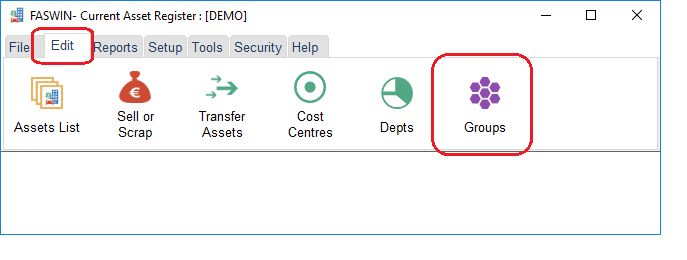
Groups
Different kinds of assets have different "normal" depreciation settings. The groups option in Faswin allows you to not only group your assets together into logical groups, but also to define default depreciation settings for those groups.
Using the Groups item in the Edit menu you are able to edit the groups that exist, or create your own groups.
Note that the default for a group is only used when an asset is added. You are able to change the settings for the asset to be different to the rest of the group. If you change the settings for a group, that will not affect existing assets.
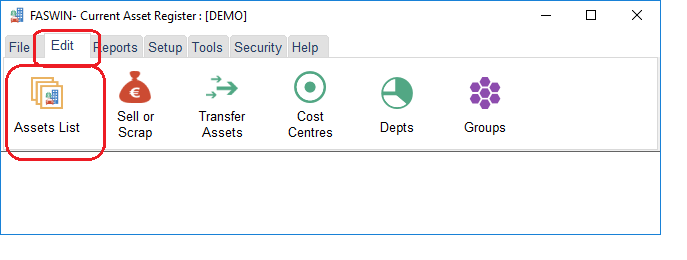
Adding Assets
Obviously the key to any asset register is adding the assets. To see a list of the assets in your system, and to edit, or add to that list, choose the Assets List option from the Edit menu.